
YOU TOO CAN BUILD YOUR OWN NAVAJO TIPI
Last year I spent a weekend in the Catskill mountains helping a group of people prepare for a Native American tipi ceremony. Anne has been down with the Native American Church for several years now and I’ve slowly been learning more and more about it.
The NAC was founded in Oklahoma in the 1880s as a way of preserving Native American traditions that were on the brink of extinction due to many factors like relocation, government persecution, and the work of Christian missionaries. They have incorporated the traditions of many of the different Indian nations in to their ceremonies. About 30 years ago they began welcoming in outsiders. I am not a practitioner myself, but I’ve been very impressed by how incredibly compassionate and generous the members of the church are with everyone they encounter. They really seem to practice faith, love, hope, and charity in every single aspect of their lives.
The NAC doesn’t hold any kind of weekly services. They only come together when there is a specific person or cause which they feel would benefit from communal prayer. This can be church members in a personal crisis, a health crisis, or even family members going off to Iraq. It can also be for environmental causes of various sorts. I thought it would be cool to go up there for the weekend and learn how to build a tipi. This particular ceremony was for a woman involved in a bitter custody battle with an abusive husband. Many people drove from 3 or 4 states away just to pray for her, and she was a complete stranger. These prayer ceremonies are at least a 12-hour affair, starting at around 7pm and going all night, finishing up in the morning when the medicine man determines that it’s finished.
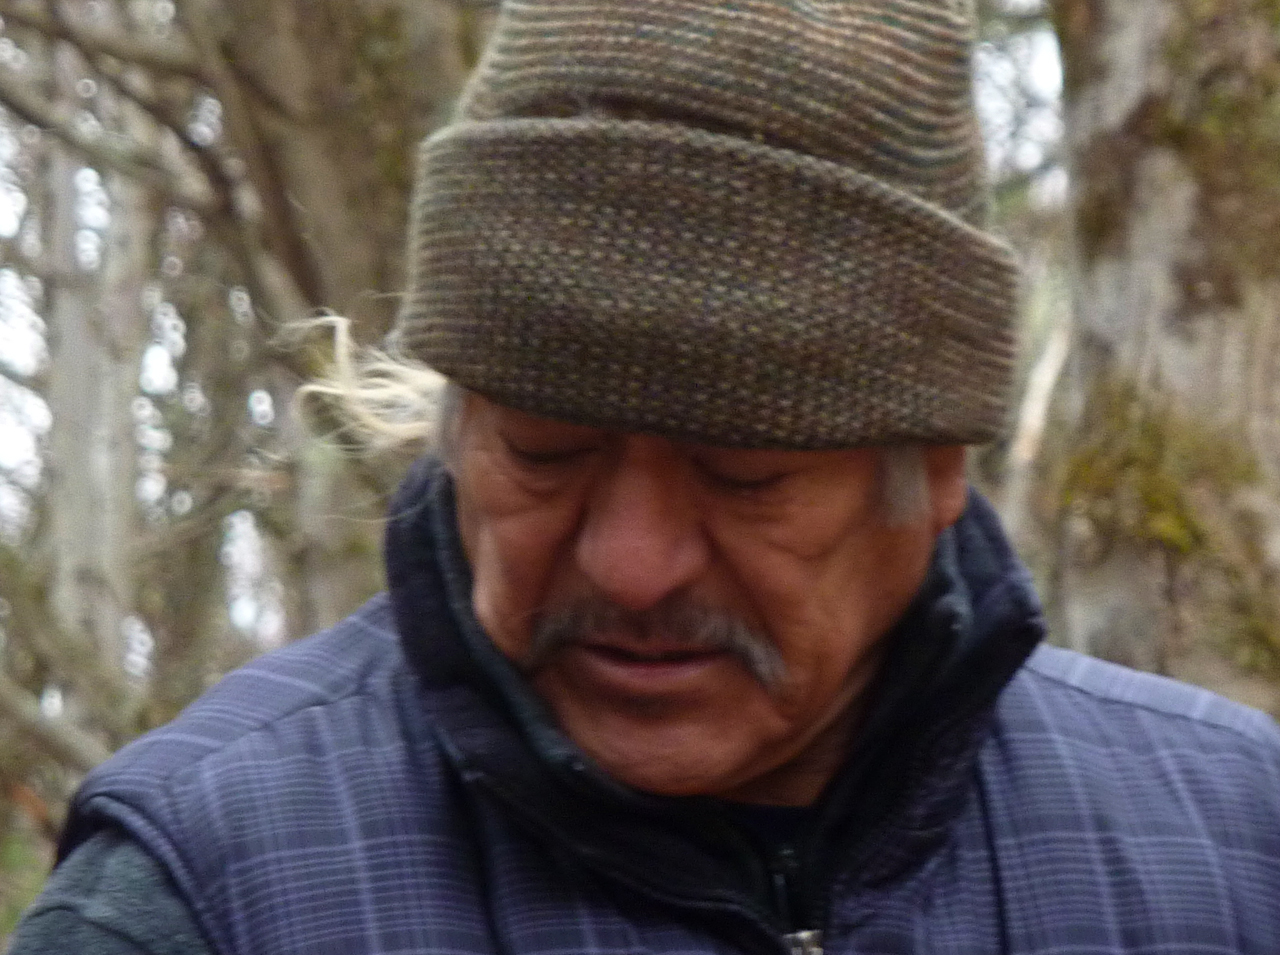
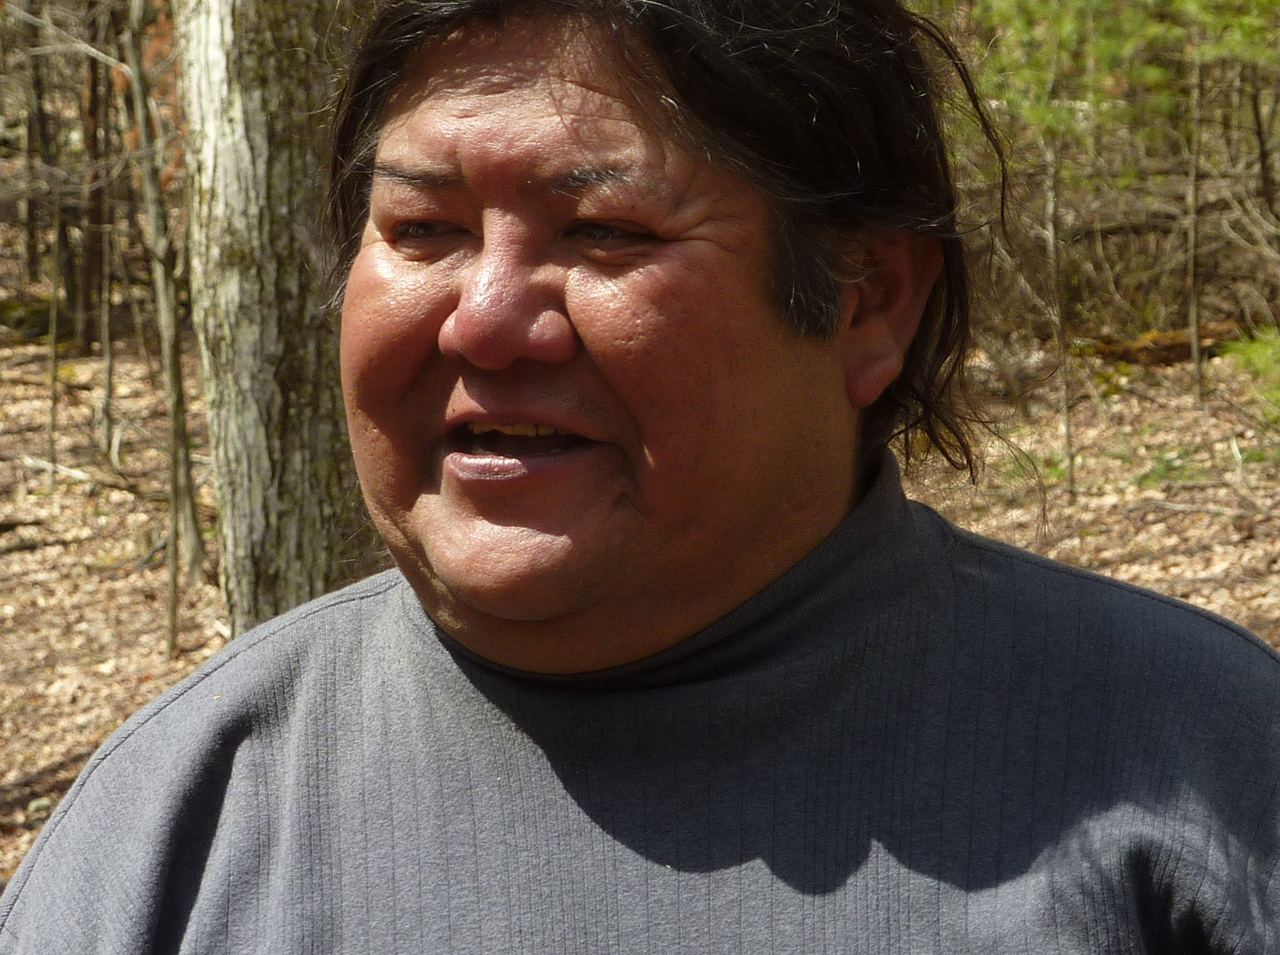
This particular tipi was being run by a Navajo elder, Jake Singer, who showed up early in the morning to supervise the building of the tipi and the fireplace within. Originally from the Navajo reservation in Arizona, he is a decorated Viet Nam veteran and now walks the earth as a medicine man. He is also a very cool dude.


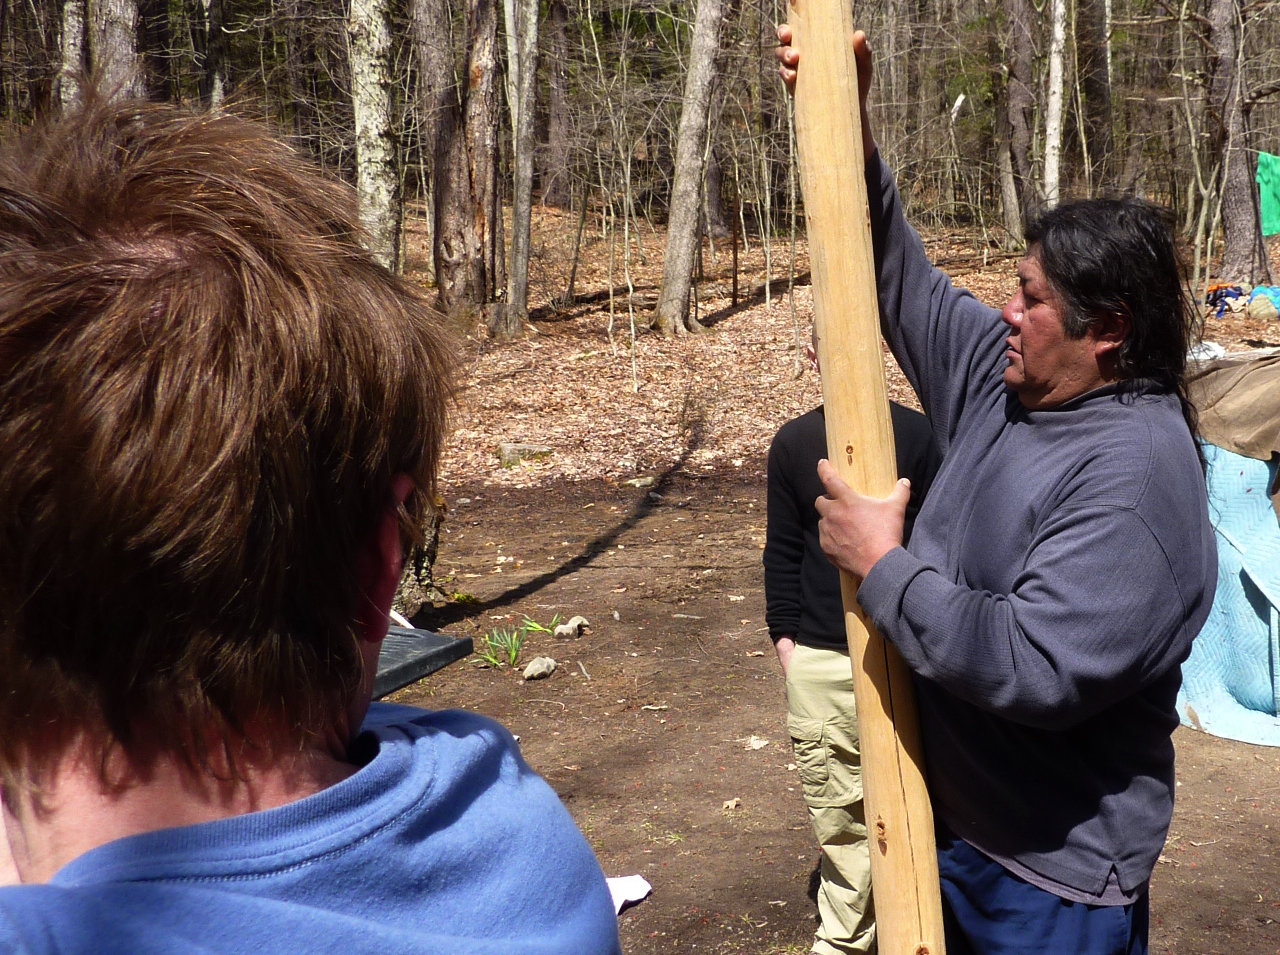
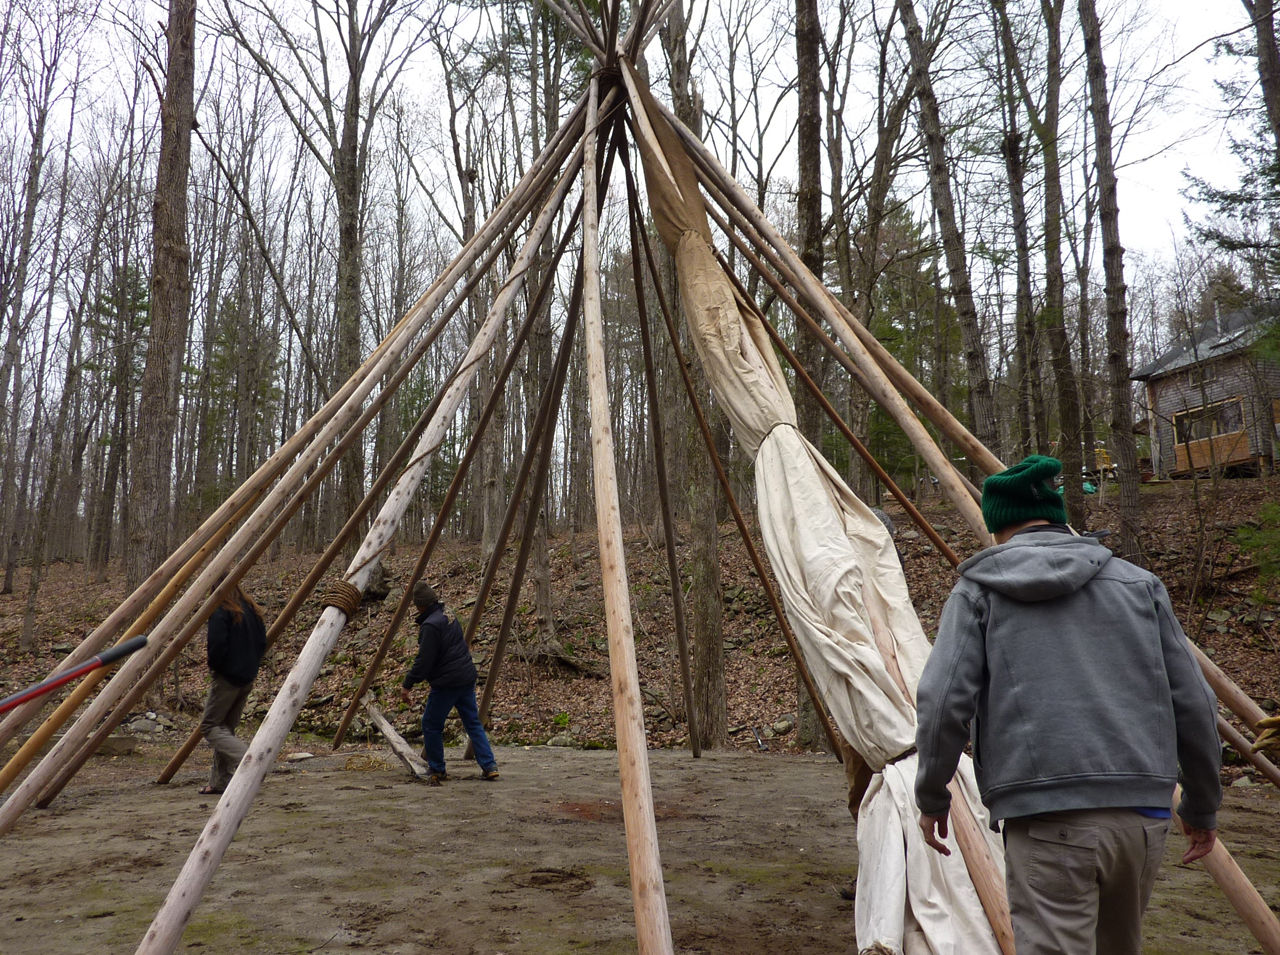
Nineteen wooden poles were standing leaning up against a nearby tree. The poles were long, thin tree trunks, stripped clean of bark and branches, about 4 inches in diameter and 23-26 ft long. The thick base of each had been cut in to a wedge for anchoring in to the ground.
Though the basic framework is essentially a tripod, on this day, four poles of equal length were chosen by Jake to be the basic framework. The Navajo style dictates that 2 poles be set up to form a doorway from the very beginning. The four poles were laid on the ground in a V-shape, two on each side, with the base of the poles on the eastern edge of the circle, and the apex pointing west, bisecting the center line.
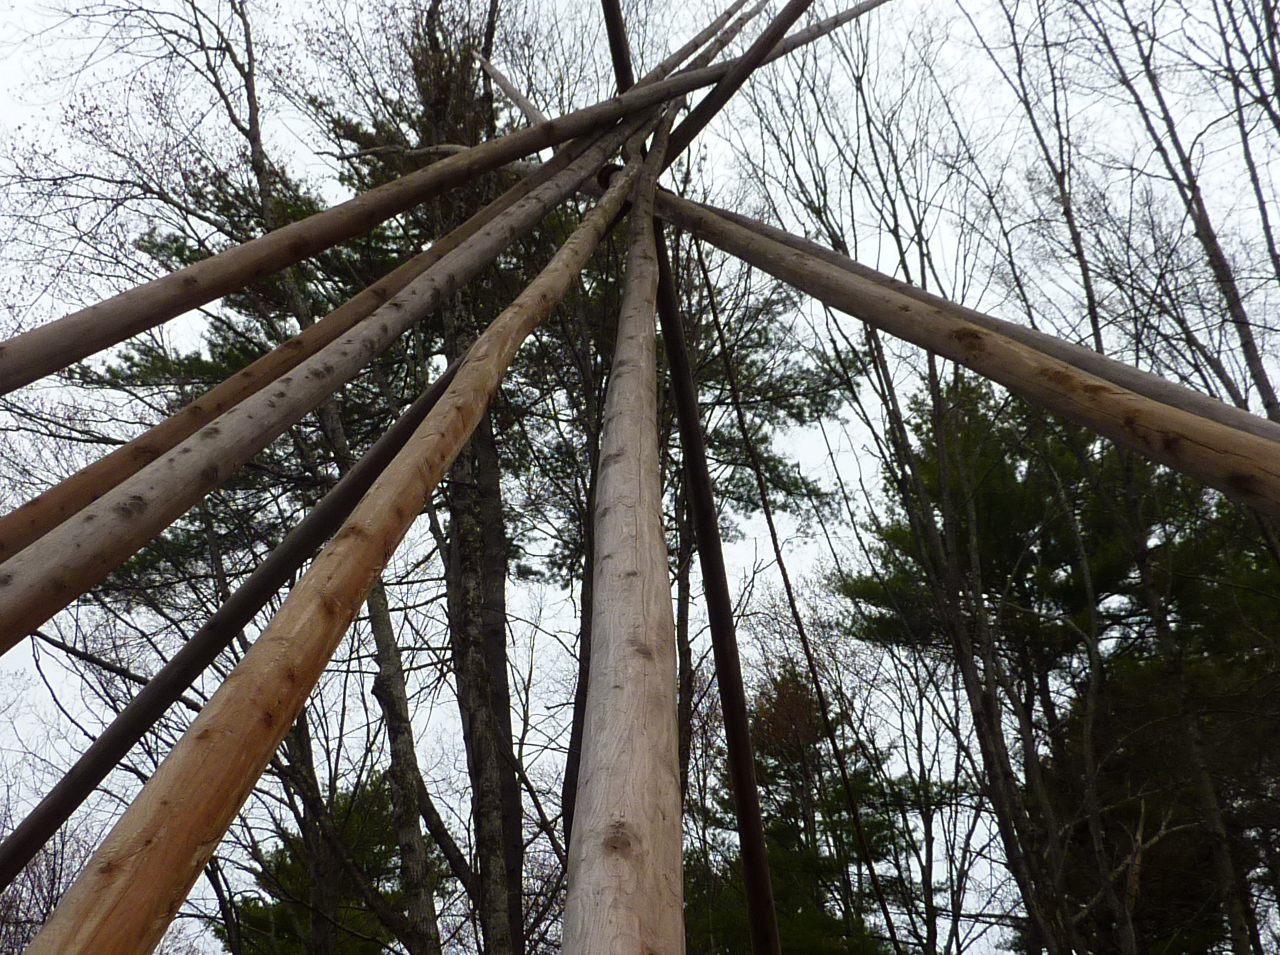
The top of the poles formed an intersection about 3 feet from below the end. Jake secured a long rope to intersection point of the first pole. Once the first pole was tied, he moved on to the the next pole, tying it tightly at the same location with the same rope, leaving only a couple inches of slack between each pole. This resulted in four poles that were tied closely together at the intersection, with the same rope, yet could move independent of one another.
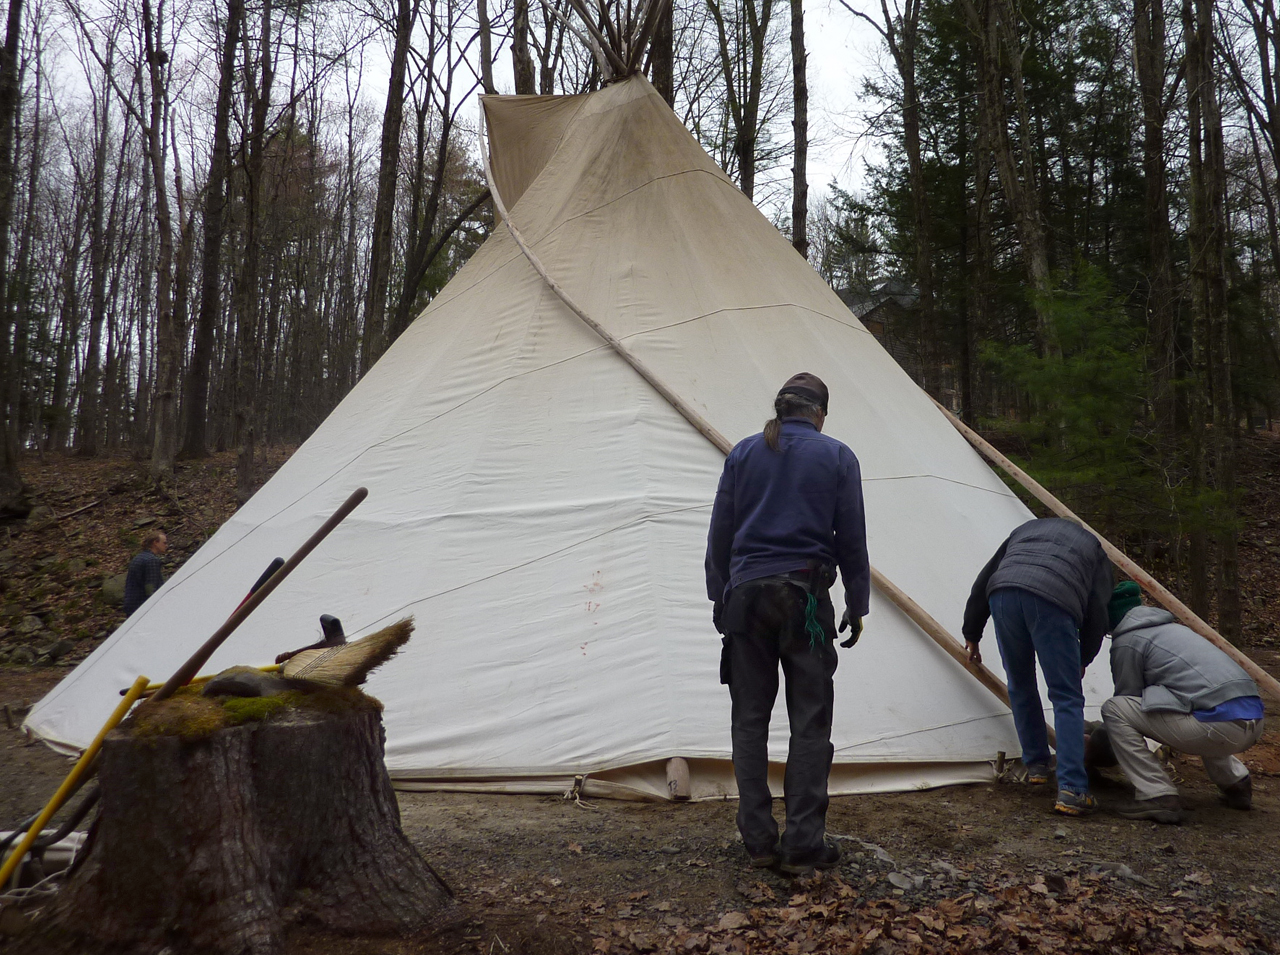
We then lifted the apex of the poles and walked them upright. The closer we got to vertical, the more difficult they became to steady. Once upright, the base of two poles were spaced 3 feet apart at the east edge of the circle, forming a doorway, while the base of the two remaining poles are dragged around the circle until they are equidistant from each other and the door, roughly 120 and 440 degrees. This established the framework.

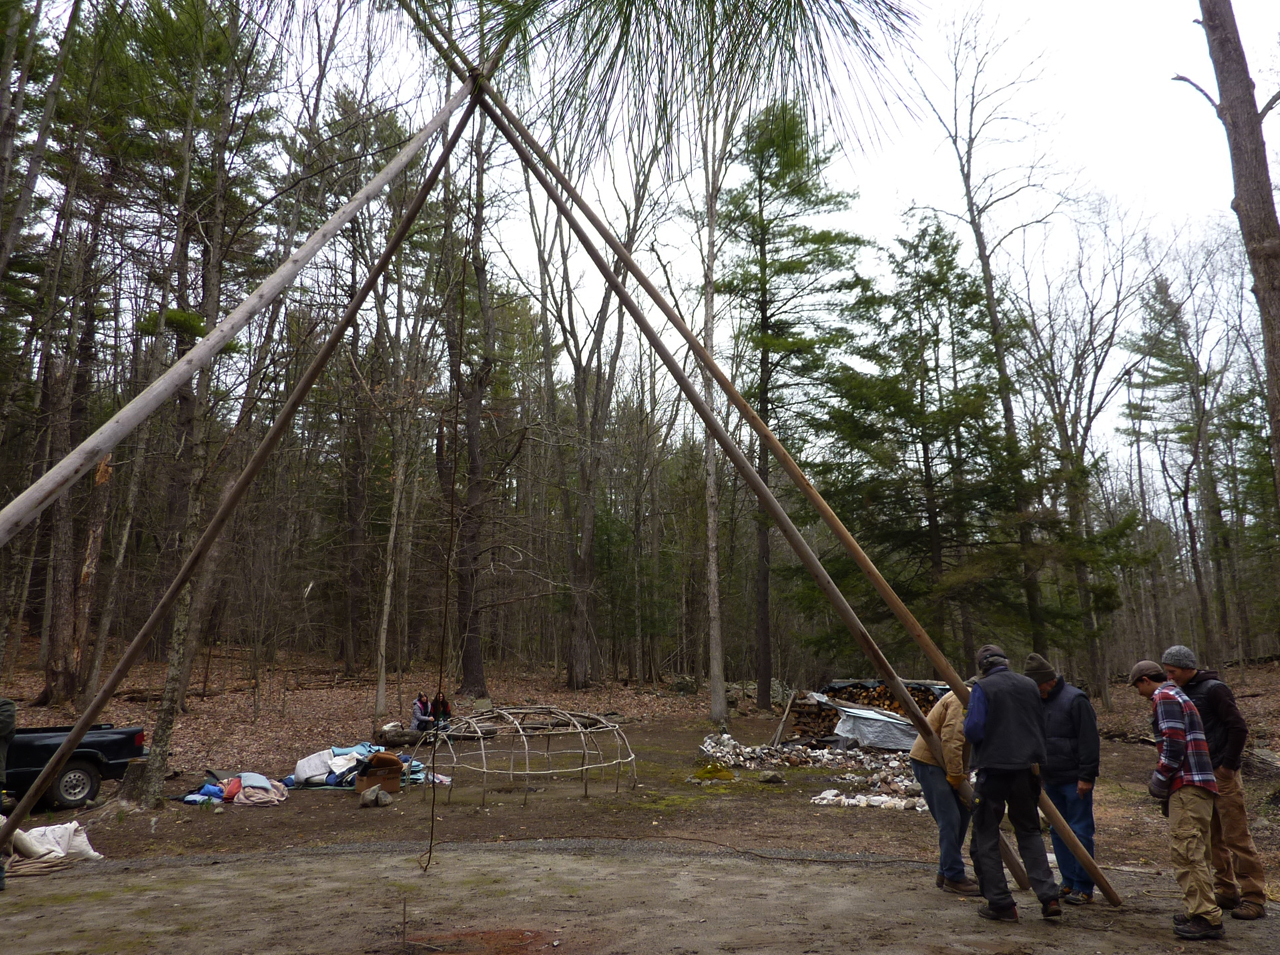
After the framework was up, one by one, we placed the base of remaining poles at the edge of the circle and gently leaned them down in to the cradle formed by the intersection. This was done clockwise, as is everything with tipis, both inside and out. There is a specific protocol for just about everything.
It took two or three men per pole to keep them from falling over – at least for the white folk. Pete Yazzie, my Navajo brother, had no problem placing the poles all by himself. He is also a very awesome individual.
After four poles were placed, Jake would take the long rope that was anchored to the intersection and run it around the outside of the circle, securing the new poles tight to the intersection. He did this at a surprisingly swift speed, with a big smile on his face. There was no question he had been doing this his entire life.

Next was the biggest, longest pole, which had the huge piece of heavy canvas covering already attached to it. The base of this had to be placed at the 180 degree mark opposite the doorway, and then lowered down in-between the two doorway poles. It was insanely heavy and very precarious to place. If you let it loosen from its anchor in the ground, it swings upwards with tremendous force, like a trebuchet. It almost took a few mofos heads off more than once.
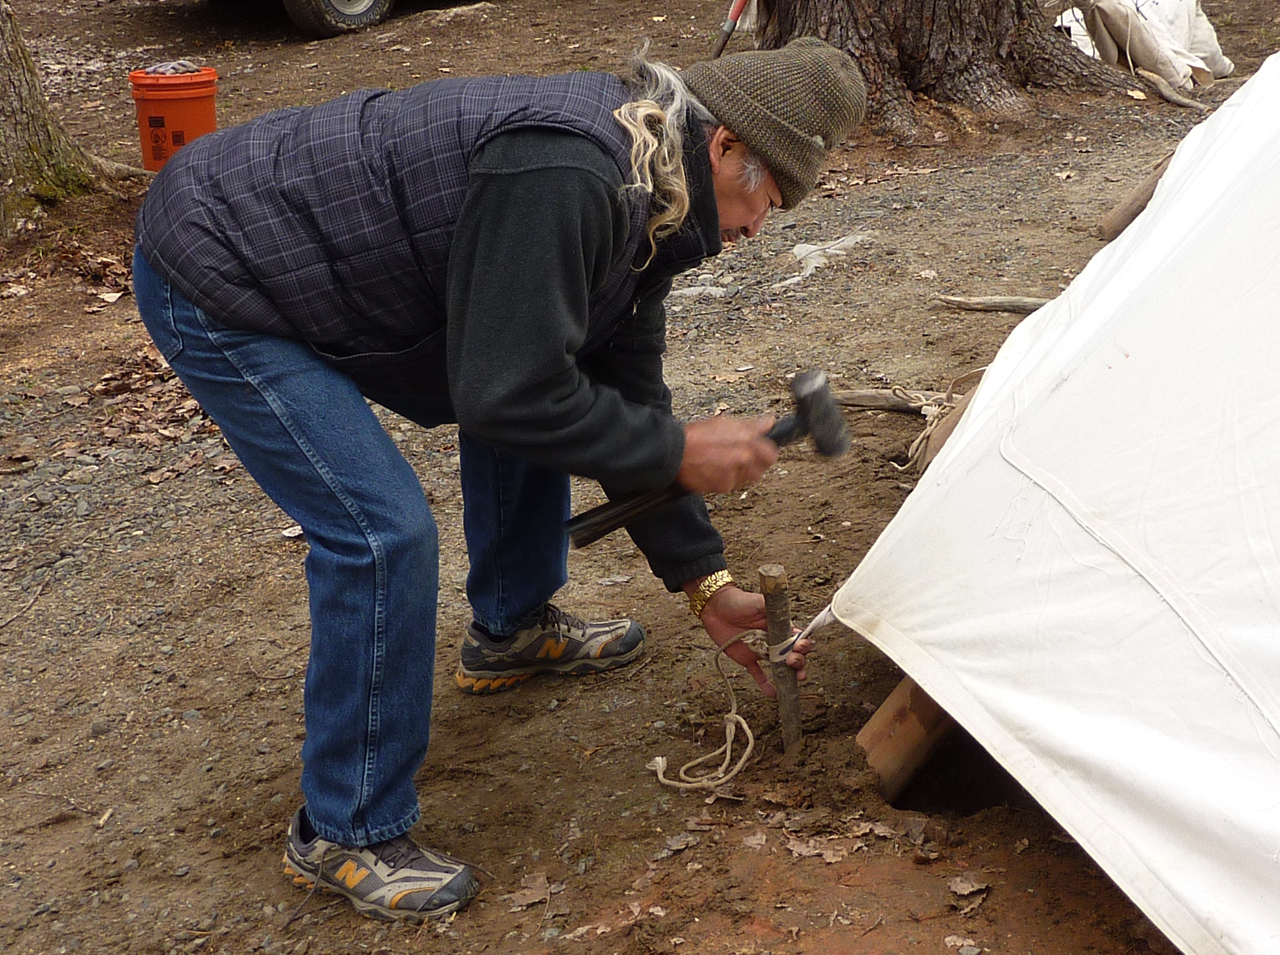
Once we finally got it, we then unwrapped the canvas and stretched it around either side of the framework. It already had a doorway cut out of one side, and once unfurled, the two sides met up perfectly where our two doorway poles sat. Wooden stakes stitch the two sides of the covering together.
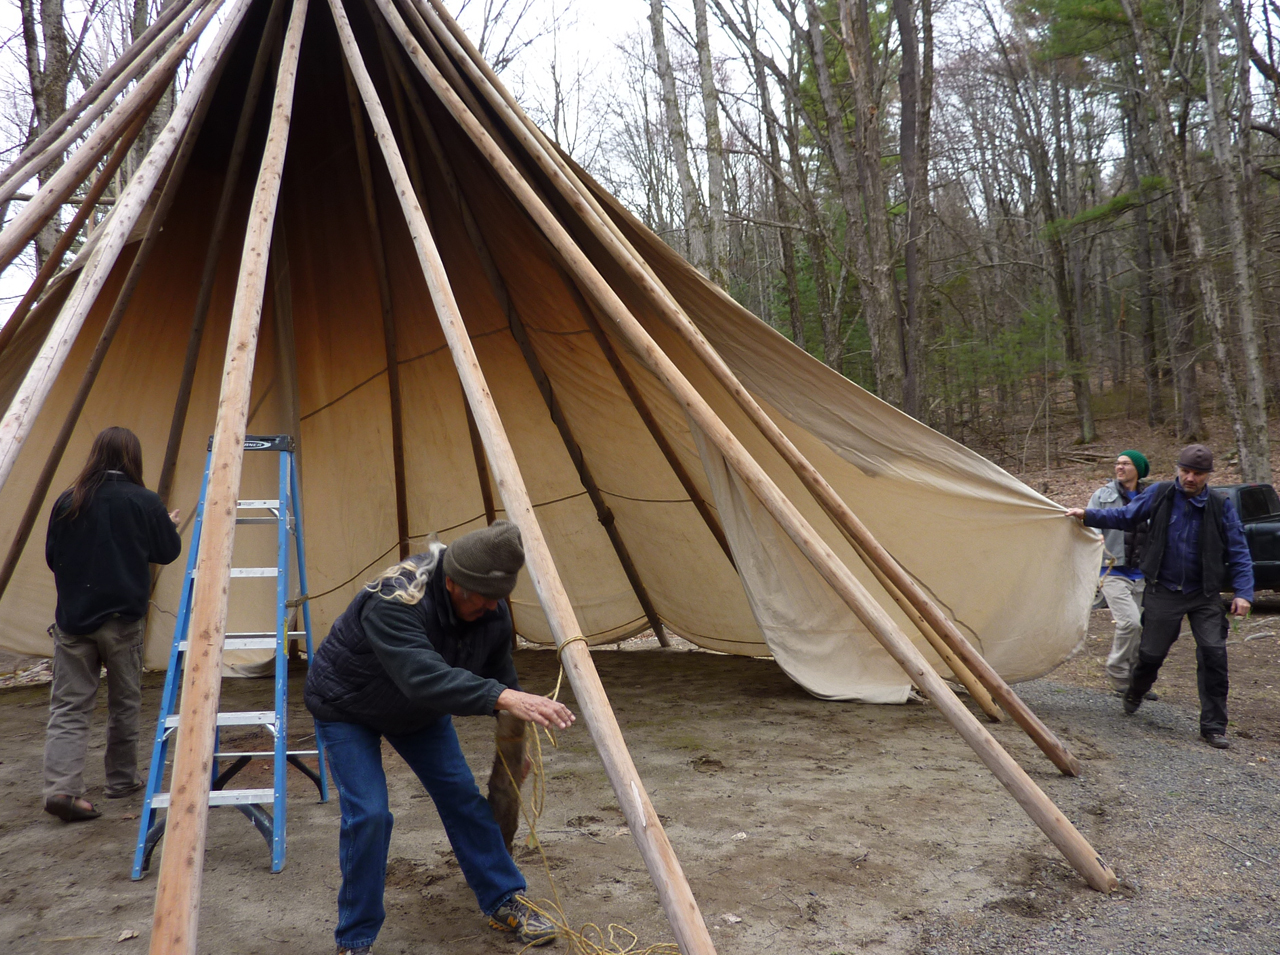
More wooden stakes anchor the base of the covering in to the ground.
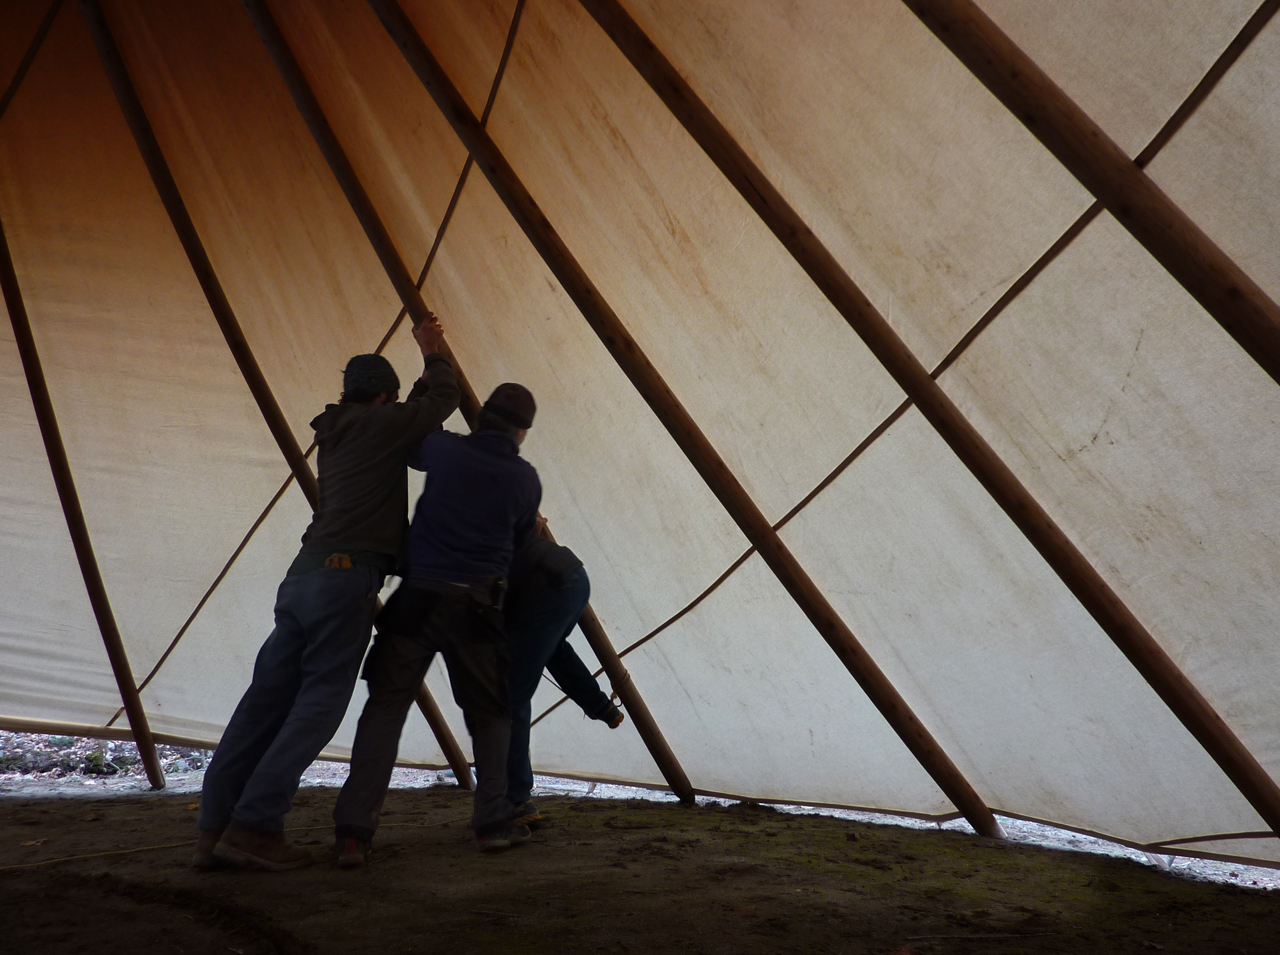
Once the covering was staked in, we went inside the tipi and pushed each pole out as far as we could, creating a taught skin. This is done for both structural integrity and best acoustics for singing and drumming.

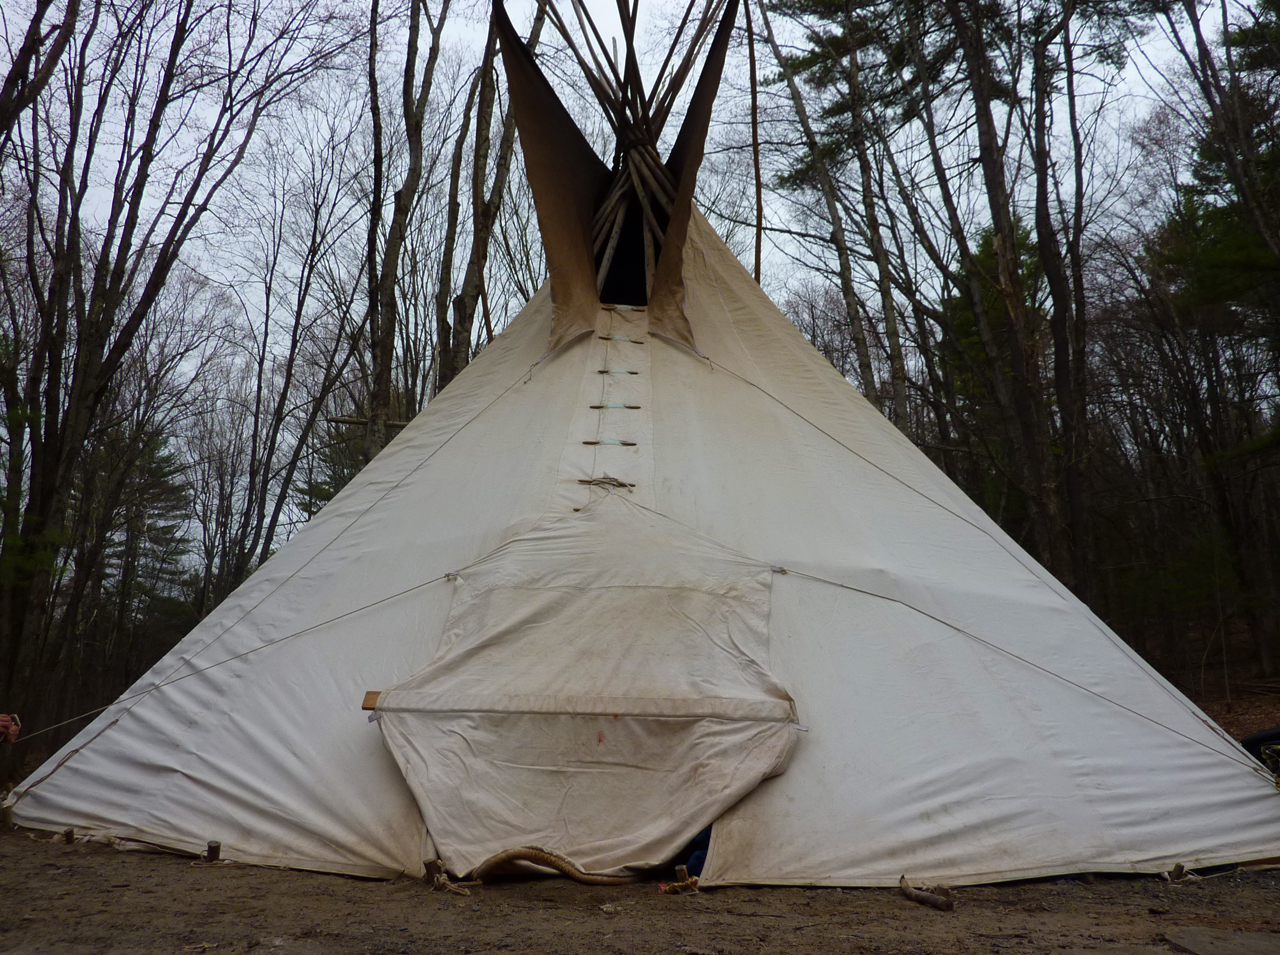
The final piece of the puzzle is threading two long poles through the external flaps that cover the hole at the top of the tipi. These two poles wrap around either side and can be adjusted to let light in or adjust for the direction the wind.
Pete seemed pleased with our ability to follow instructions.
Once completed, the two flaps form the shape of eagles wings, with the intersection of the door poles representing the eagle’s head.
So there you have it! Just a few hours later, the sun went down and the real work began.
*thanks to Wesley Allen for some overdue measurement corrections. No disrespect intended.
<hr/ >


The TP is not 30 foot circumference that would be very small it has to be 30 ft diameter. The poles are not 8 inches in diameter that would be so huge no one could lift it. They have to be 4 inches at the most. You're not going to set any pole at 440 degrees when the circle is only 360 degrees. And you have many other mistakes in your presentation. I observed the setting up of the teepee twice and did a movie of it. You disgrace the Navajo Nation.